Integrate Sanity V3 with Next.js 13
About Sanity CMS
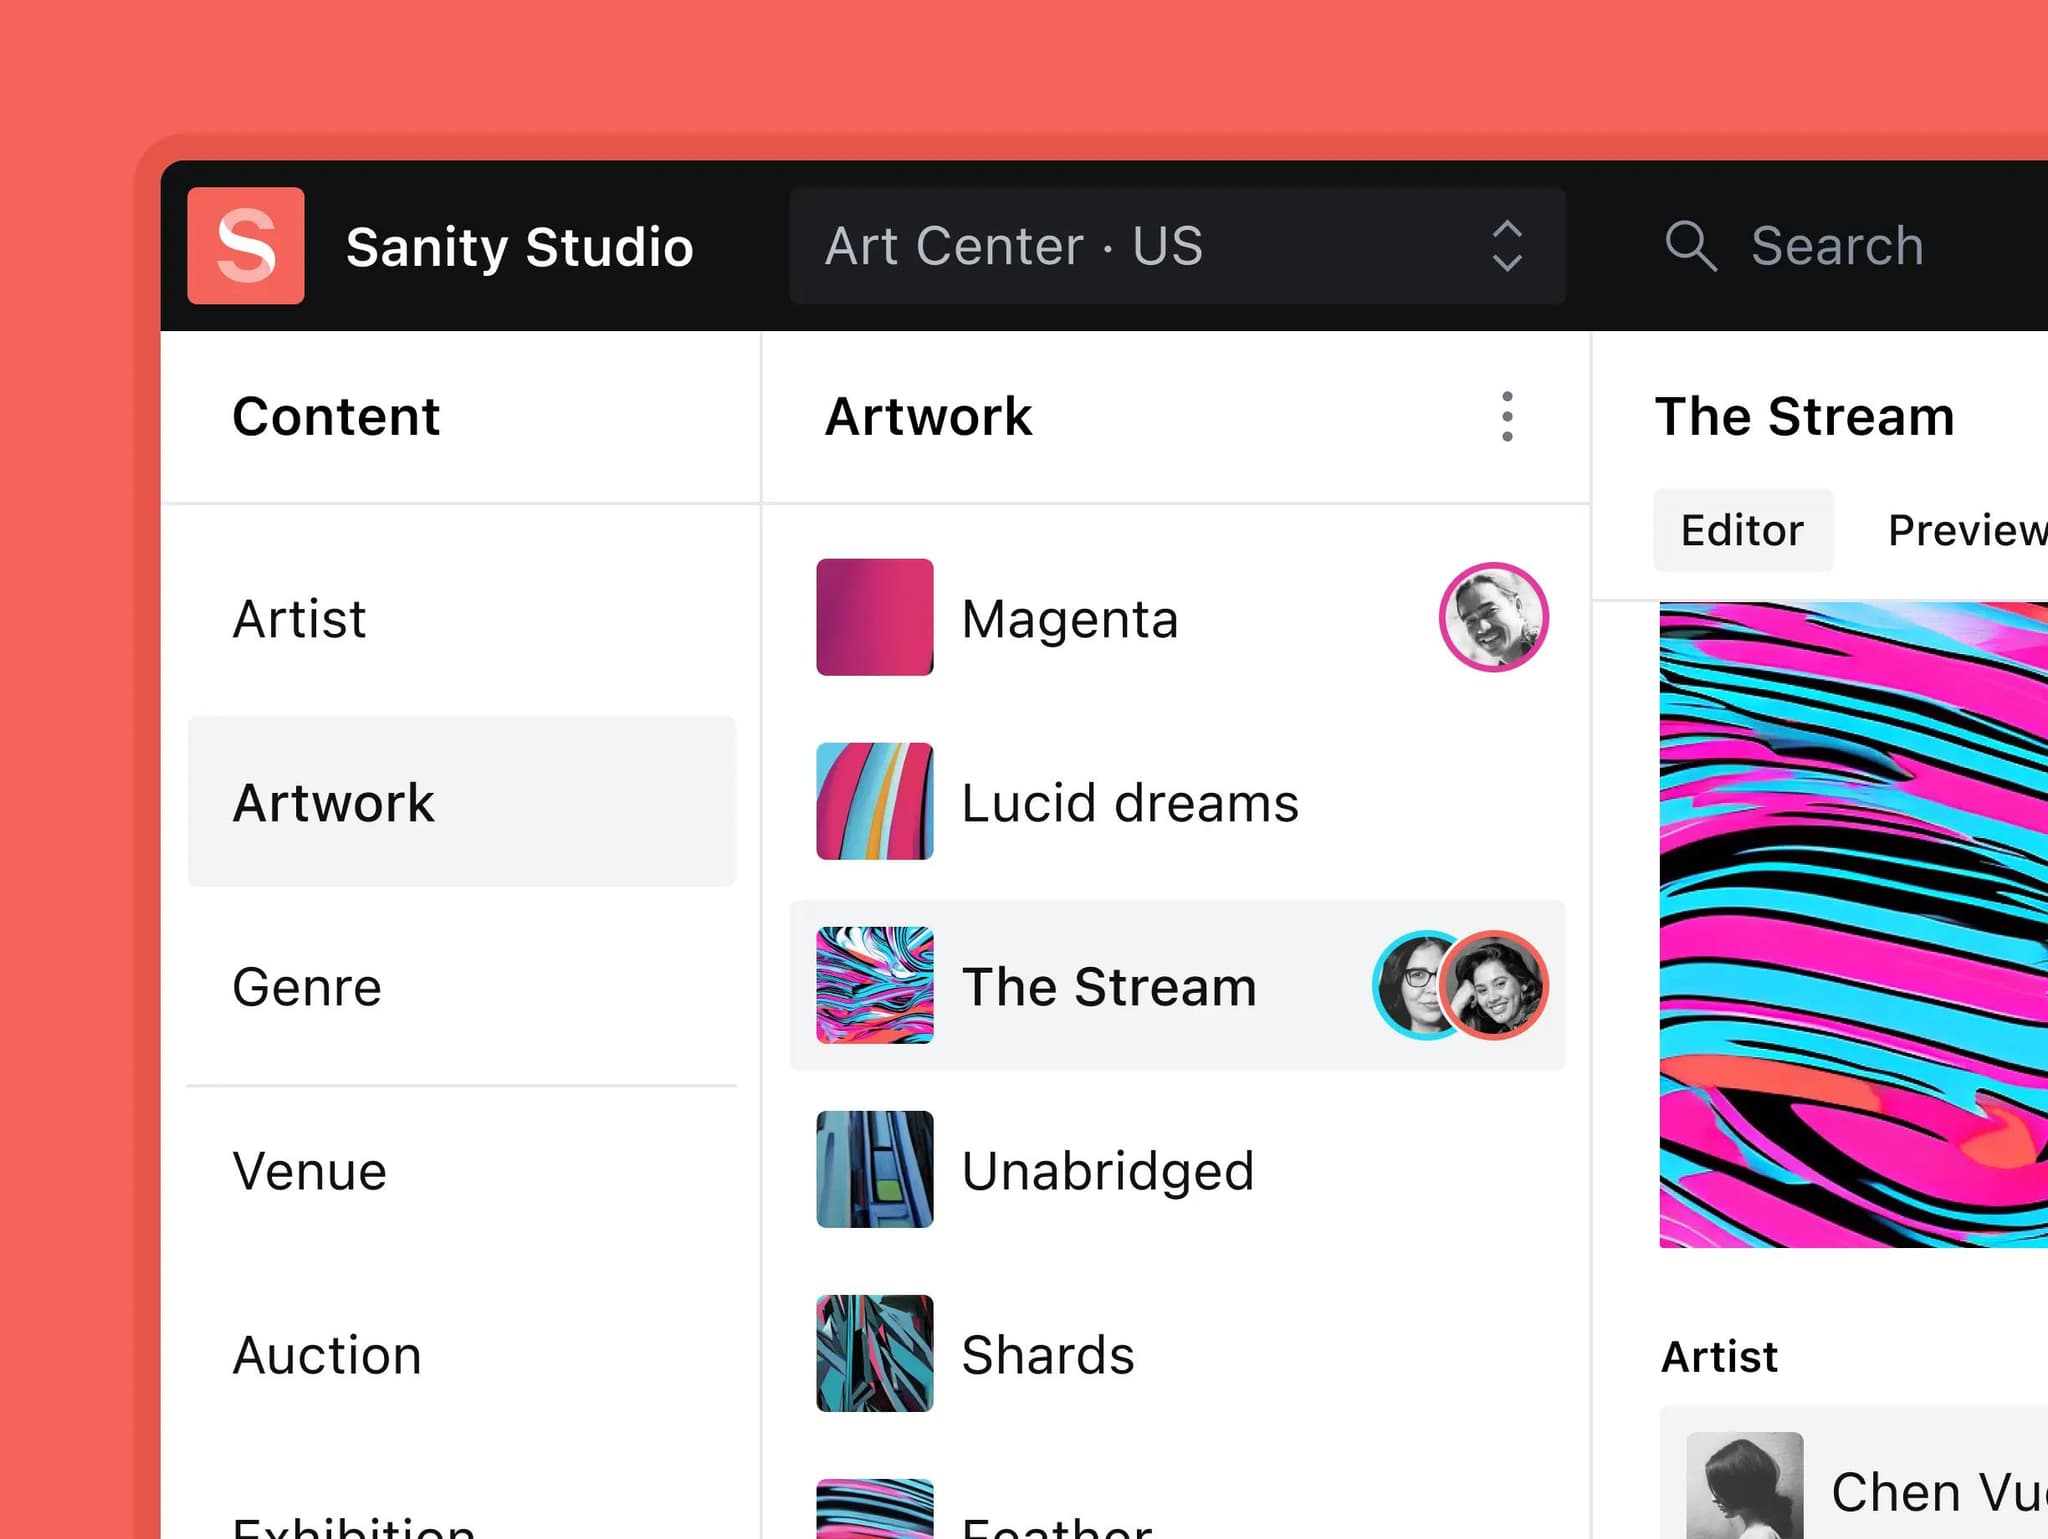
Sanity is a platform for creating and working with structured content. Your content is stored in the cloud and can be distributed anywhere, for example on a website or in an app.
Key features
- Real-time collaboration: Sanity CMS allows multiple people to work on the same content simultaneously and directly, increasing flexibility and productivity in the workflow.
- Customizable content models: Users can customize content models to fit their needs and meet the development requirements of their application.
- Rich text editing: Sanity CMS provides a flexible multimedia text editor to help users create rich and diverse content.
- Image and asset management: Sanity CMS supports image and asset management, allowing users to upload, manage, and use their assets effectively.
- Precise content querying: Treat content as data with GROQ, describe exactly what information your application needs, potentially joining together information from several sets of documents.
- Multi-language support: Sanity CMS supports multiple languages, allowing users to manage content in multiple languages and automatically translate content into different languages.
- Scalability: Sanity CMS allows for enhanced scalability to handle user traffic and load.
- Developer-friendly: Sanity CMS is designed to meet the needs of developers with appropriate development tools and detailed documentation.
Pros
- Easy and flexible schema modelling
- Great Next.js integration
- Nice media handling
- Predictable pricing
- Hosted, real-time content database
Create a Sanity project
Now let's proceed to creating a demo website blog. First, we need to create an account on https://sanity.io. Login to the dashboard and then click on Create new project on the admin page.
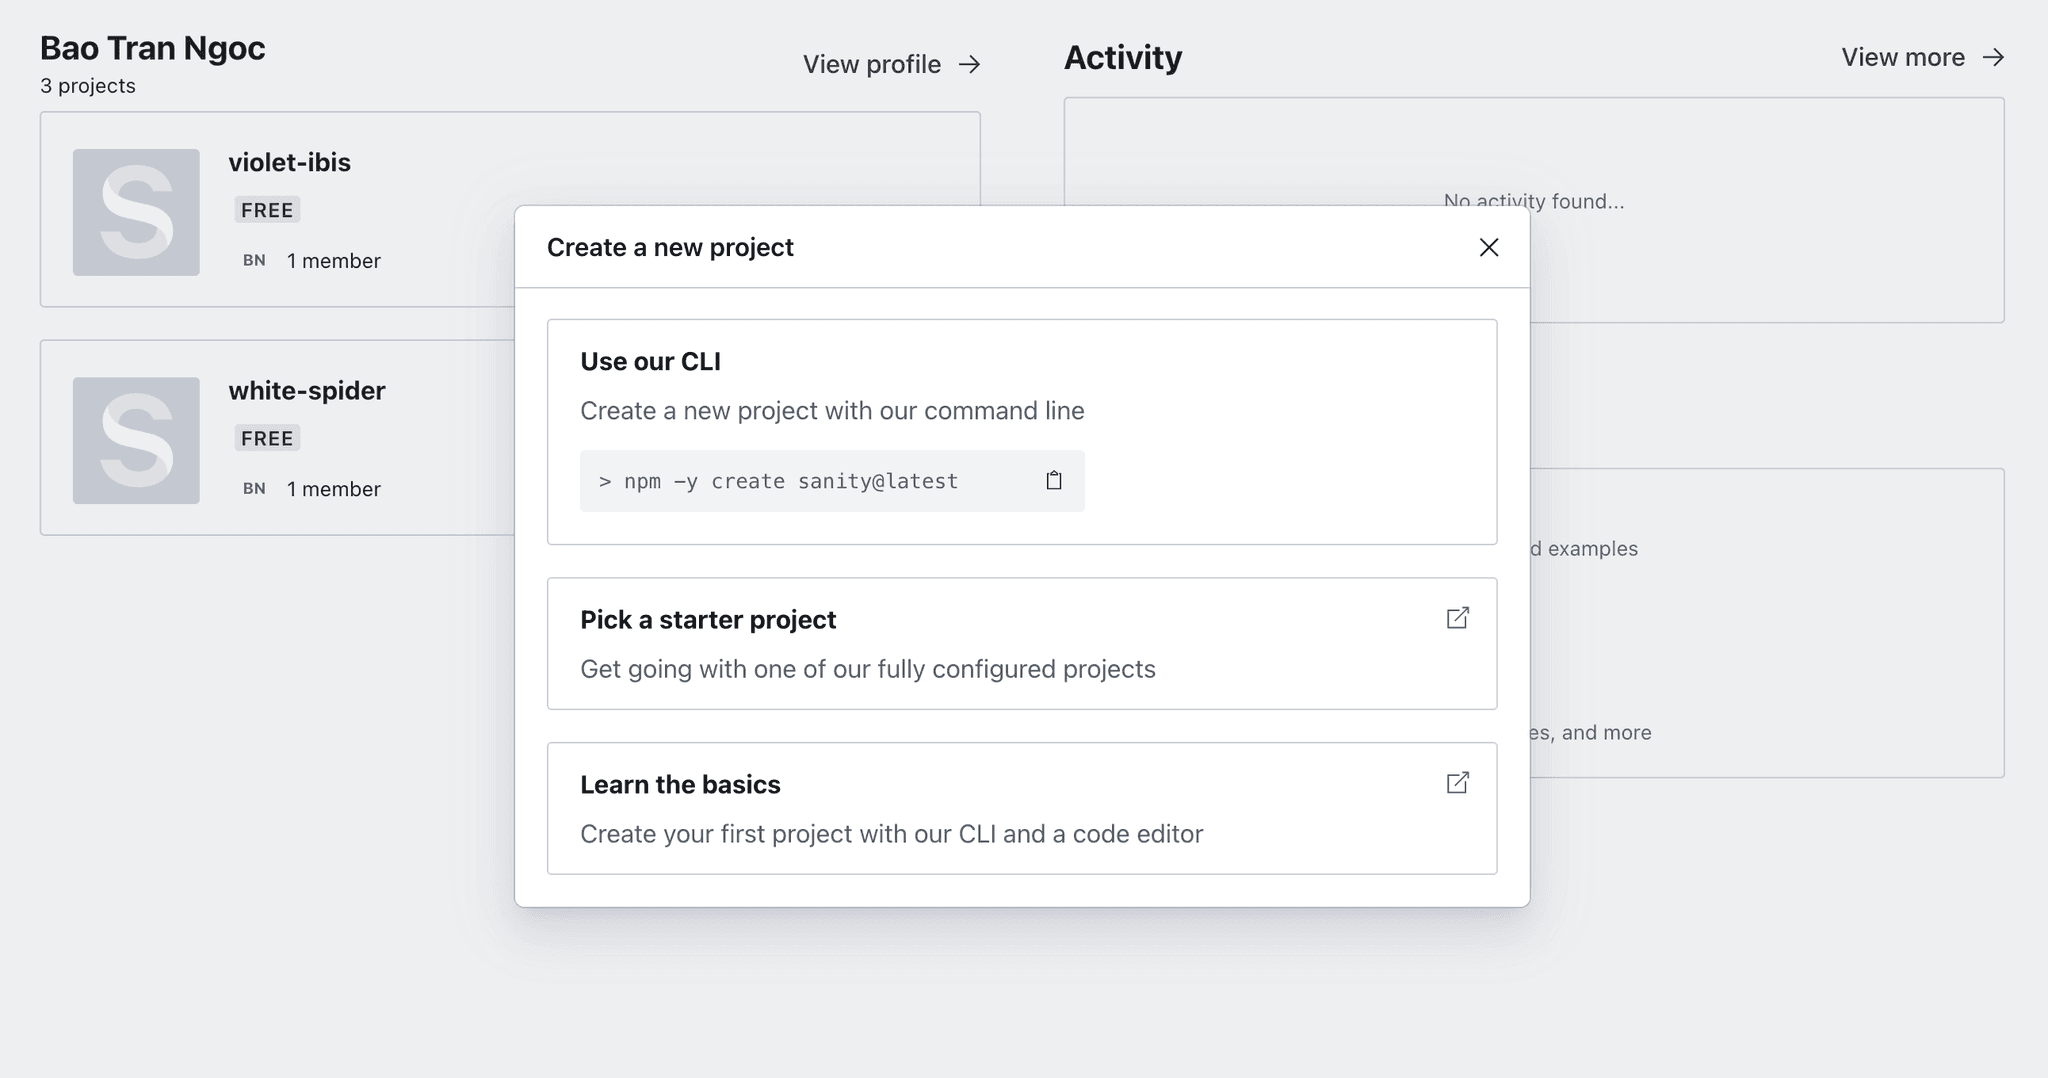
We can create a project by picking a template from Sanity website or using CLI:
npm create sanity@latestWe should choose Blog template when asked during the installation so it'll create the basic Blog schema for easy use later.
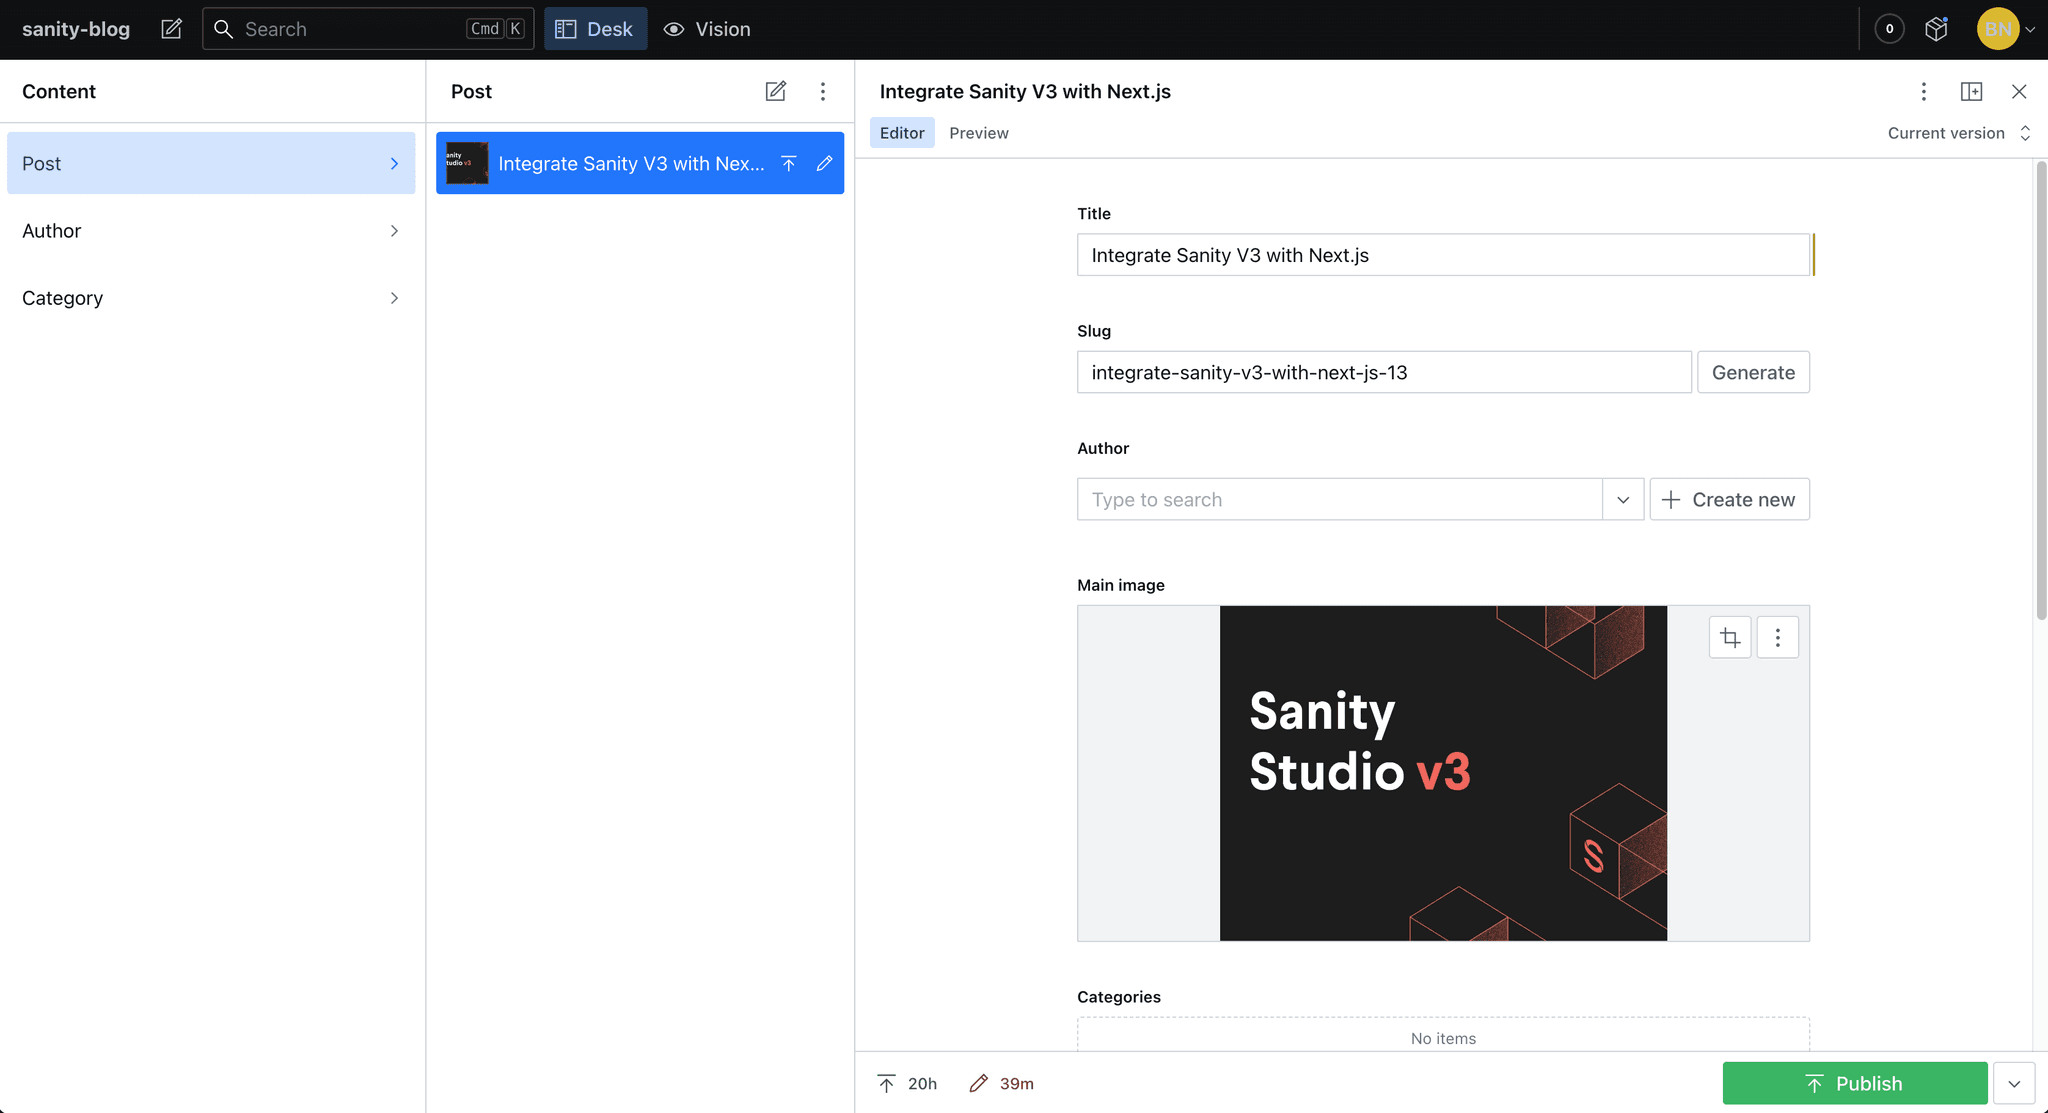
After the installation process is finished, we have a project (called Sanity Studio), we can use yarn dev command to run Sanity Studio on local environment.
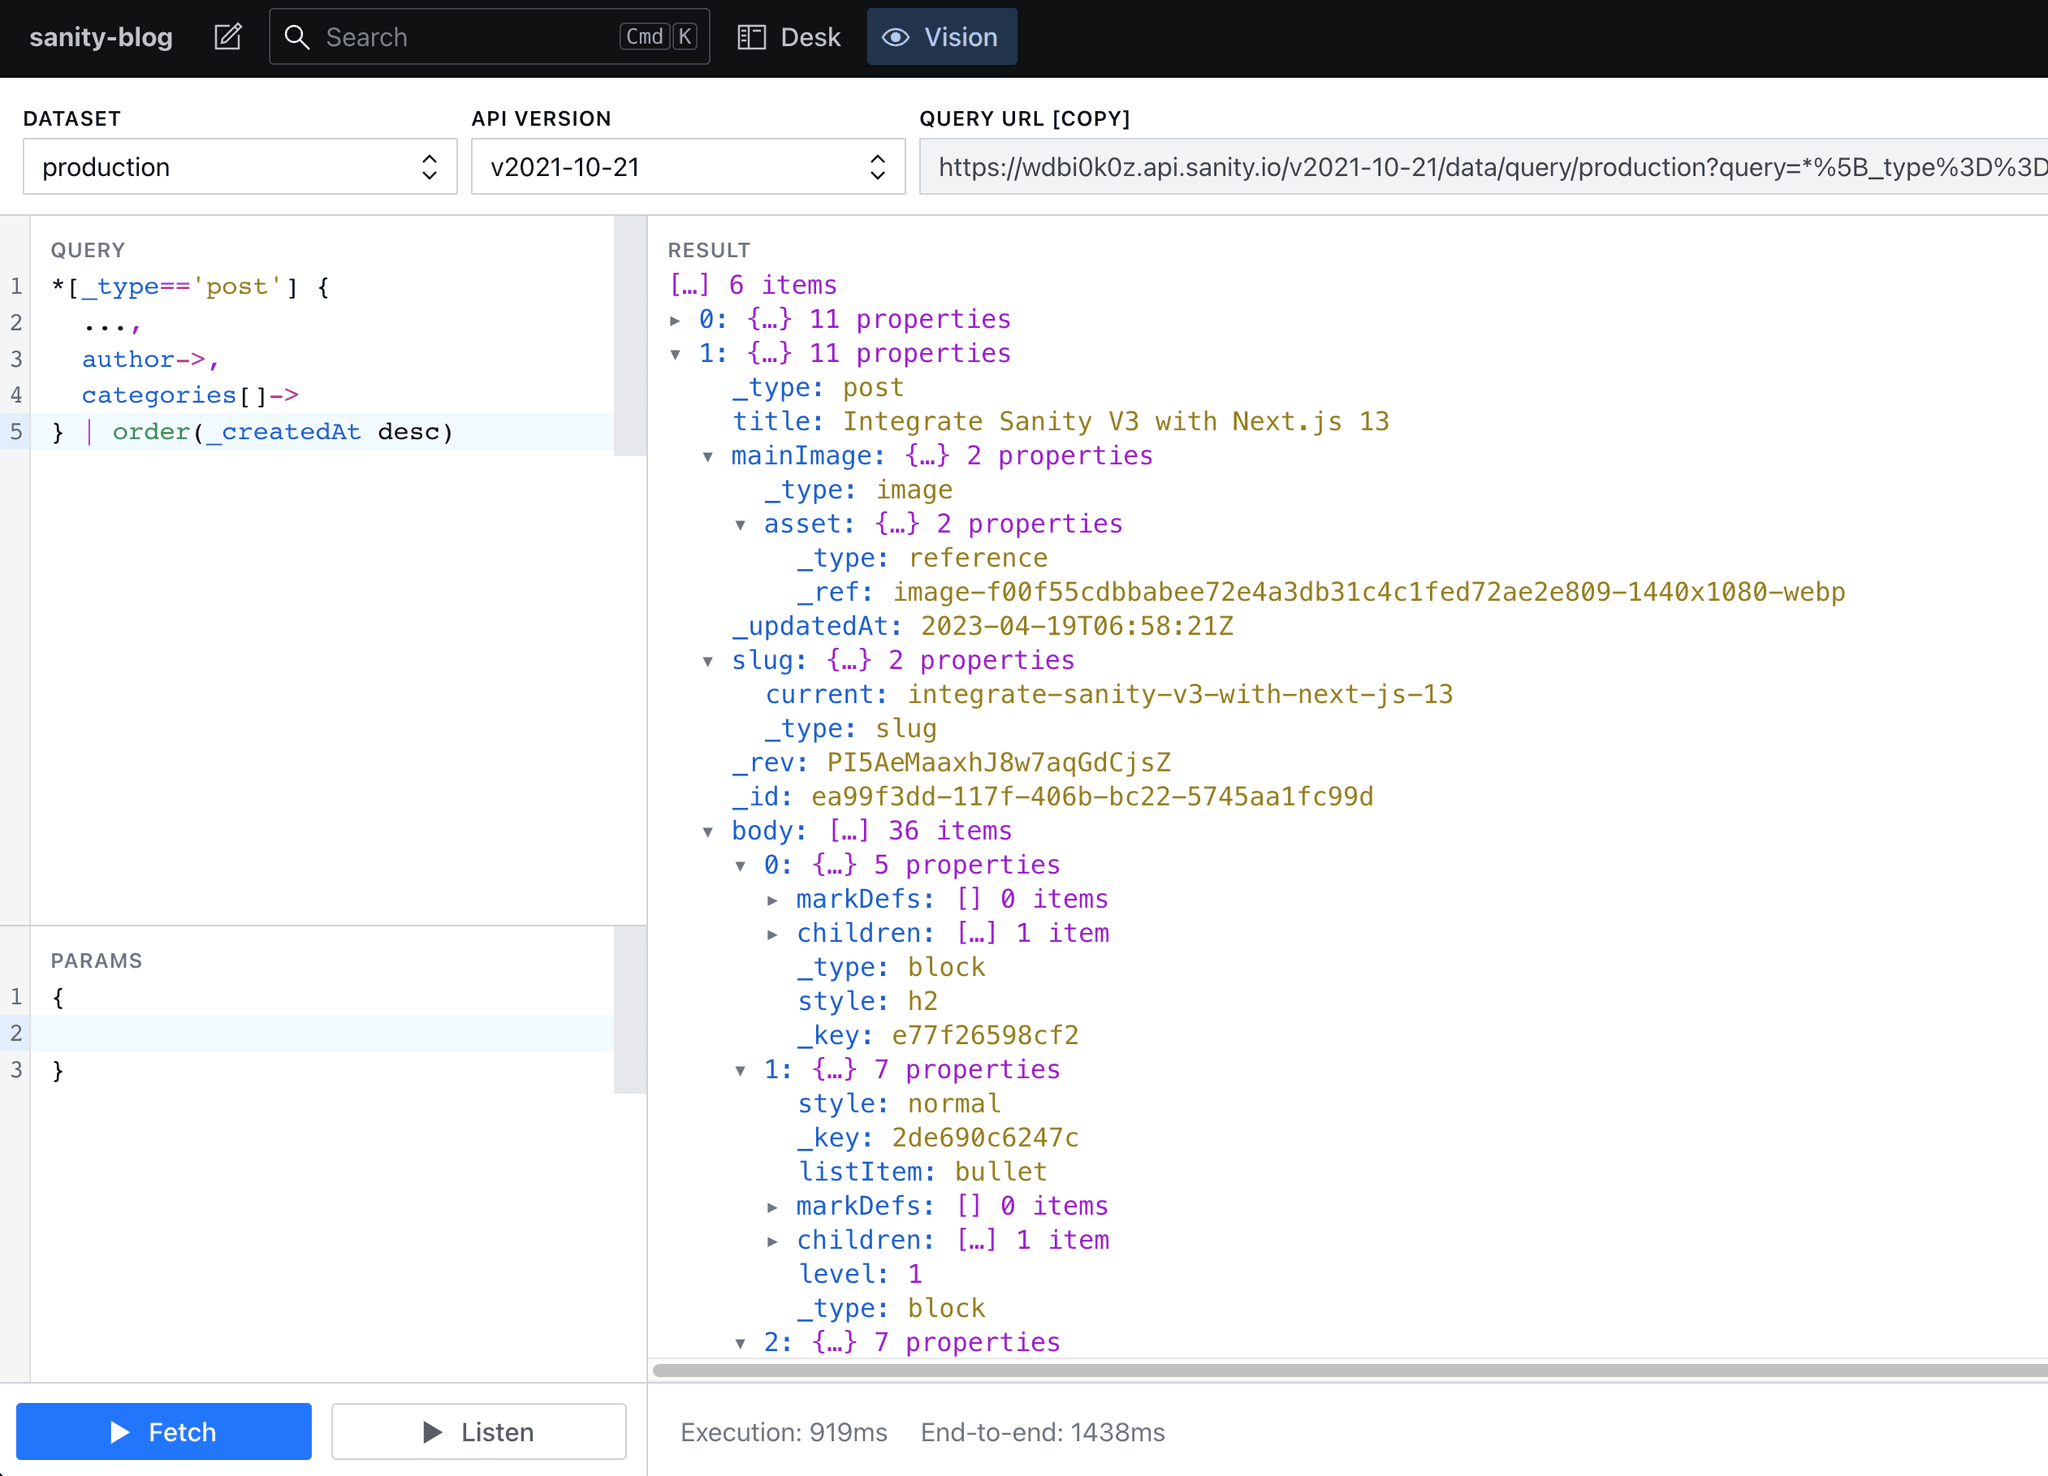
With Vision plugin we can use query language GROQ to fetch data from SanityCMS.
To share it to others member of your team, run yarn deploy, you will be able to choose a subdomain, after deploying the URL will look like https://xxx.sanity.studio/. Team members can login to the studio after being invited to the project.
That's it, we're done building the simple content structure environment to connect to the data hosted on Sanity's cloud.
Install Sanity Studio inside Next.js project
In this part, I will show how to integrate Sanity Studio into the Next.js project. Init Next.js project by yarn create next-app. Next, install some dependencies:
- sanity
- @sanity/vision // A plugin that can fetch the data for testing purpose that I said above.
- next-sanity // The library makes it easy to integrate SanityCMS and Next.js
To quickly and simply, we can copy the sanity.cli.ts and sanity.config.ts files, schemas folder from the project created in the previous section.
sanity.cli.ts
import { defineCliConfig } from 'sanity/cli'

export default defineCliConfig({
  api: {
    projectId: 'wdbi0k0z',
    dataset: 'production',
  },
})
We must add the basePath: '/studio' to the sanity.config.ts file and then create the Next.js route according to this value.
import { defineConfig } from 'sanity'
import { deskTool } from 'sanity/desk'
import { visionTool } from '@sanity/vision'
import { schemaTypes } from './schemas'

export default defineConfig({
  basePath: '/studio', // Add this line
  name: 'default',
  title: 'sanity-blog',

  projectId: 'wdbi0k0z',
  dataset: 'production',

  plugins: [deskTool(), visionTool()],

  schema: {
    types: schemaTypes,
  },
})
The schema describes the types of documents editors may author in Sanity Studio, the schemas folder defines all the schema needed for a simple blog website.
Below is an example post schema (/schemas/post.ts)
import { defineField, defineType } from 'sanity'

export default defineType({
  name: 'post',
  title: 'Post',
  type: 'document',
  fields: [
    defineField({
      name: 'title',
      title: 'Title',
      type: 'string',
    }),
    defineField({
      name: 'slug',
      title: 'Slug',
      type: 'slug',
      options: {
        source: 'title',
        maxLength: 96,
      },
    }),
    defineField({
      name: 'author',
      title: 'Author',
      type: 'reference',
      to: { type: 'author' },
    }),
  ],
})
For more information about the schema, please read the docs.
Integrate Sanity Studio with Next.js 13 project
This time we use the new feature of Next.js 13 is app/ directory. We need to enable this experimental by adding following code in next.config.js file:
const nextConfig = {
  ...,
  experimental: {
    appDir: true,
  },
}
Since we want to have two separate layouts, one for the user and one for the admin (/studio), so we use a directory with parentheses to separate the two sides. This way does not affect the routing of Next.js.
First create app/(admin)/layout.tsx file with the following code:
export default function RootLayout({ children }: { children: React.ReactNode }) {
  return (
    <html lang="en">
      <body>{children}</body>
    </html>
  )
}
Next, create app/(admin)/studio/[[...index]]/page.tsx file, this file exports NextStudio from the next-sanity library using the configuration from the file that we created in the previous section.
'use client'

import config from '@/sanity.config'
import { NextStudio } from 'next-sanity/studio'

export default function StudioPage() {
  return <NextStudio config={config} />
}
On the user side, we continue to create layout and page files in the (user) directory.
app/(user)/layout.tsx
export default function RootLayout({ children }: { children: React.ReactNode }) {
  return (
    <html lang="en">
      <body className="bg-[#F7F9FC]">
        <Header />
        <main className="mt-10 px-8 max-w-7xl mx-auto">{children}</main>
        <Footer />
      </body>
    </html>
  )
}
Create the app/(user)/page.tsx. In this file we use GROQ as the query language for fetching the data from the studio, if you want to learn more about this really cool language, please read here.
import { groq } from 'next-sanity'
import { client } from '@/lib/sanity.client'
import BlogList from '@/components/BlogList'

const query = groq`
  *[_type=='post'] {
    ...,
    author->,
    categories[]->
  } | order(_createdAt desc)
`

export default async function Home() {
  const posts = await client.fetch(query)
  return <BlogList posts={posts} />
}
This file uses the client variable from the sanity.client file. Therefore, we need to create a sanity.client file with the following content:
import { createClient } from 'next-sanity'

export const client = createClient({
  projectId: 'wdbi0k0z',
  dataset: 'production',
  apiVersion: '2022-11-16',
  useCdn: false
})
A little explanation of the useCdn, in Sanity, you can use CDN (cached API) which is an opt-in feature that will give you very fast responses to requests that have been cached. If you are going to fetch content from a browser, you should be using the API CDN. That is the way to build something that can scale.
Besides with useCdn: false (the live, uncached API) will always give you the freshest data, but requests will be slower because they need to reach the back end on every request. Requests are also more costly because they will trigger more computation on the servers. For static builds you are better off using the live uncached API, to always get the latest version.
That's all I want to introduce this time, we've created the Next.js project with embeddable Sanity CMS as the admin side of the website, it's really a great integration, you can even customize the theme, add components to the studio. There are many plugins that we can install to custom schema, media browser, scheduled publishing...
Conclusion
Sanity CMS is an excellent choice for developers and content managers looking for a flexible, customizable, and scalable content management system that supports real-time collaboration and multi-language support.